

Yo, fellow fashion enthusiasts and DIYers! I'm an interlining supplier, and today we're diving into a question that pops up a lot: Can you use a home iron to apply fusible interlining? Let's break it down.
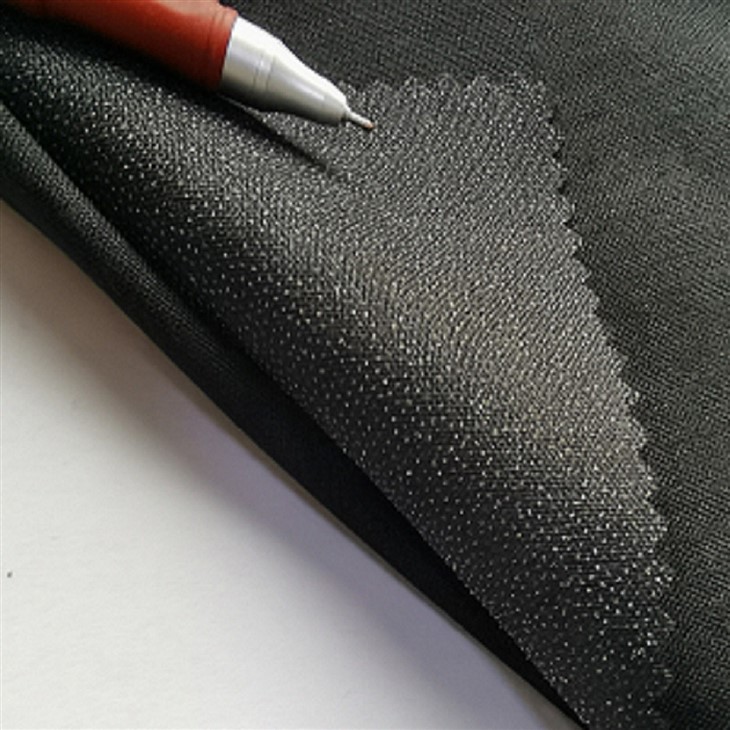

First off, what's fusible interlining? Well, it's like the secret sauce for your garments. It gives structure, stability, and shape to your fabrics. Whether you're making a sharp suit, a cute blouse, or a stylish skirt, fusible interlining can take your sewing game to the next level. You can check out more about different types of interlining on our Lining Interlining Facing Interfacing page.
Now, back to the main question. Can you use a home iron? The short answer is yes, you totally can! A home iron is a handy tool that most of us have in our closets. It's a cost - effective way to apply fusible interlining, especially if you're working on a small project or just starting out with sewing.
When using a home iron, there are a few things you need to keep in mind. First, make sure your iron is clean. Any dirt or residue on the iron plate can transfer to your fabric and interlining, leaving ugly marks. I've seen it happen, and it's a real bummer.
Next, check the temperature settings. Different types of interlining require different heat levels. Some may need a low - heat setting, while others can handle a bit more. You don't want to overheat the interlining and end up with a mess. For example, if you're using a lightweight interlining for a delicate blouse, a lower temperature is usually best. On the other hand, for a heavy - duty interlining for a jacket, you might need a higher setting. You can find more details about different interlining types and their requirements on our Interfacing And Interlining page.
Before you start applying the interlining, it's a good idea to do a test patch. Cut a small piece of both the fabric and the interlining and try fusing them together. This way, you can see if the temperature is right and if the interlining adheres properly. It's better to make mistakes on a small piece than on your actual project.
When you're ready to apply the interlining, lay the fabric on a flat surface. Make sure it's smooth and free of wrinkles. Then, place the fusible side of the interlining on the wrong side of the fabric. Cover it with a pressing cloth. This cloth acts as a barrier between the iron and the fabric, preventing direct contact and reducing the risk of scorching.
Now, it's time to start ironing. Move the iron slowly and evenly over the pressing cloth. Apply gentle pressure, but don't press too hard. You want to give the heat enough time to activate the adhesive on the interlining. Keep the iron moving to avoid overheating any one area. Depending on the type of interlining, you might need to iron for a few seconds to a minute or so.
After you've finished ironing, let the fabric cool down. This is an important step because the adhesive needs time to set. Once it's cool, you can check if the interlining has adhered properly. If there are any areas that didn't stick, you can go back and re - iron them.
One thing to note is that a home iron might not be as powerful as a professional iron. Professional irons usually have more consistent heat and steam output, which can make the fusing process a bit easier. But don't worry, with a little practice and the right techniques, you can still get great results with a home iron.
Let's talk about some common mistakes to avoid. One of the biggest mistakes is using too much heat. As I mentioned earlier, different interlinings have different heat requirements. Using too high a temperature can melt the interlining or damage the fabric. Another mistake is not using a pressing cloth. This can lead to shiny spots on the fabric or even burn marks.
Also, make sure you're using the right type of interlining for your project. For example, if you're making a shirt collar, you'll want to use a Shirt Collar Interlining that's specifically designed for that purpose. Using the wrong interlining can result in a collar that doesn't hold its shape or looks lumpy.
In conclusion, using a home iron to apply fusible interlining is definitely doable. It's a great option for small - scale projects or for those who are just getting into sewing. Just make sure you follow the right steps, use the correct temperature, and do a test patch first.
If you're in the market for high - quality interlining, we've got you covered. We offer a wide range of interlining products to suit all your sewing needs. Whether you're a professional tailor or a hobbyist, we have the perfect interlining for you. If you're interested in learning more or making a purchase, feel free to reach out and start a conversation. We're here to help you take your sewing projects to the next level.
References
- General knowledge from years of experience in the interlining industry.
- Research on best practices for using home irons with fusible interlining.