

Hey there, hat enthusiasts! If you're a fan of bucket hats, you know how important a good lining is. It not only adds comfort but also gives the hat its shape and structure. But what happens when that lining gets damaged? Don't worry; I'm here to guide you through the process of replacing a damaged bucket hat lining. And as a bucket hat lining supplier, I've got some insider tips to share with you.
Why Replace the Lining?
First off, let's talk about why you might want to replace the lining of your bucket hat. Maybe it's worn out from years of use, or perhaps it got stained and just won't come clean. A damaged lining can make your hat uncomfortable to wear and can even affect its overall appearance. By replacing the lining, you can breathe new life into your favorite bucket hat and make it look and feel like new again.
What You'll Need
Before you get started, you'll need to gather a few supplies. Here's what you'll need:

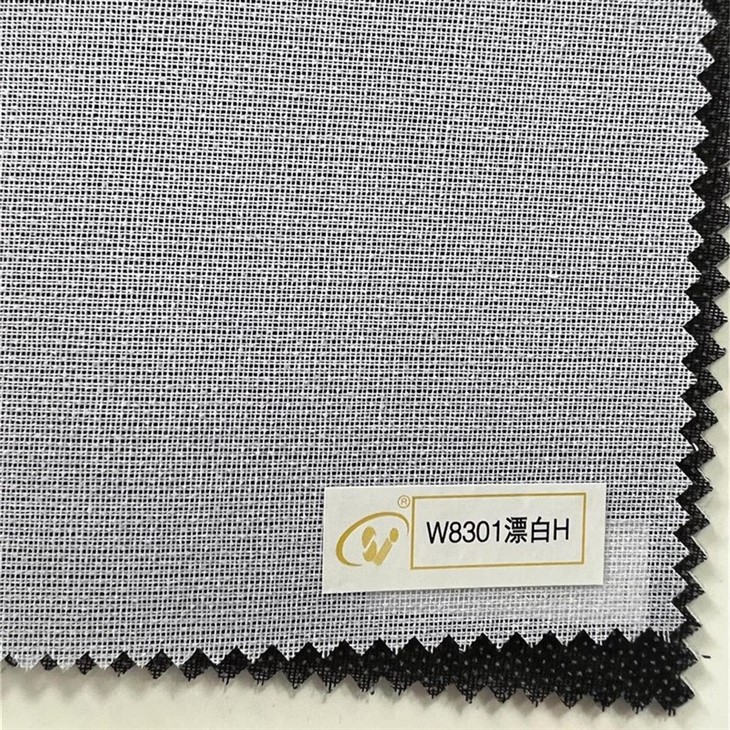
- New Lining Material: You can choose from a variety of materials, depending on your preferences and the style of your hat. Some popular options include cotton, silk, and Bonded Interlining Fabric By Polyester. As a supplier, I can tell you that polyester interlining is a great choice because it's durable, lightweight, and easy to work with.
- Scissors: A sharp pair of scissors will be essential for cutting the new lining to the right size and shape.
- Thread and Needle: You'll need thread that matches the color of your lining and a needle to sew it in place. If you're not comfortable sewing by hand, you can also use a sewing machine.
- Pins: Pins will help you hold the lining in place while you sew.
- Measuring Tape: You'll need to measure the inside of your hat to make sure the new lining fits properly.
Step-by-Step Guide
Now that you have all your supplies, it's time to get started. Here's a step-by-step guide on how to replace a damaged bucket hat lining:
Step 1: Remove the Old Lining
The first step is to remove the old lining from your bucket hat. Carefully cut the stitches that are holding the lining in place, being careful not to damage the hat itself. Once the stitches are cut, gently pull the old lining out of the hat.
Step 2: Measure the Inside of the Hat
Next, use your measuring tape to measure the inside of your hat. Measure the circumference of the hat at the base and the depth from the top of the hat to the brim. Write these measurements down so you can use them to cut the new lining to the right size.
Step 3: Cut the New Lining
Using your measurements, cut the new lining material to the right size and shape. Make sure to leave a little extra material around the edges so you can sew it in place. You can use the old lining as a template if you're not sure how to cut the new one.
Step 4: Pin the Lining in Place
Once you've cut the new lining, place it inside the hat and pin it in place. Start by pinning the lining to the top of the hat, then work your way down the sides and around the brim. Make sure the lining is centered and smooth, with no wrinkles or folds.
Step 5: Sew the Lining in Place
Now it's time to sew the lining in place. You can use a needle and thread or a sewing machine to do this. If you're sewing by hand, use a running stitch to sew the lining to the hat. Start at the top of the hat and work your way down the sides and around the brim. Make sure to sew close to the edge of the lining so it doesn't come loose.
If you're using a sewing machine, set it to a straight stitch and sew the lining to the hat. Make sure to sew slowly and carefully, following the edge of the lining. You may need to adjust the tension on your sewing machine to get a good stitch.
Step 6: Trim the Excess Material
Once you've sewn the lining in place, use your scissors to trim any excess material from the edges. Make sure to leave a little extra material so the lining doesn't fray.
Step 7: Finish the Edges
To give your new lining a professional look, you can finish the edges. You can do this by folding the edges of the lining under and sewing them in place or by using a serger to finish the edges.
Tips and Tricks
Here are a few tips and tricks to help you replace the lining of your bucket hat:
- Choose the Right Material: As I mentioned earlier, choose a lining material that is comfortable, durable, and easy to work with. Polyester interlining is a great choice because it's lightweight, breathable, and won't shrink or stretch.
- Take Your Time: Replacing a hat lining can be a time-consuming process, so take your time and do it right. Make sure to measure the inside of the hat carefully and cut the new lining to the right size.
- Use a Template: If you're not sure how to cut the new lining, you can use the old lining as a template. This will help you get the right size and shape.
- Sew Slowly and Carefully: Whether you're sewing by hand or using a sewing machine, sew slowly and carefully. Make sure to sew close to the edge of the lining so it doesn't come loose.
- Finish the Edges: To give your new lining a professional look, finish the edges. This will prevent the lining from fraying and make it look more polished.
Conclusion
Replacing a damaged bucket hat lining is a great way to breathe new life into your favorite hat. By following these steps and tips, you can easily replace the lining and make your hat look and feel like new again. And if you're in the market for high-quality bucket hat lining, don't forget to check out our Hard Hat Lining and Bonded Interlining Fabric By Polyester. We offer a wide range of lining materials at competitive prices, so you're sure to find the perfect one for your needs.
If you have any questions or would like to discuss your lining needs, feel free to reach out. We're always here to help you find the best lining solutions for your bucket hats. Let's work together to create hats that are not only stylish but also comfortable and durable.
References
- Hat-making guides from local craft stores
- Online tutorials on hat repair and customization